Resistance bands come in a vast array of shapes, sizes, tension levels, and colors. Compact, portable, and reasonably priced, they can be a great addition to your strength training workouts. Whether you are a beginner or a more experienced fitness enthusiast, incorporating a resistance band into your workout can help you increase tension in the best possible way!
“The original use of bands in training was as an accessory to strength training to provide a different stimulus using accommodating resistance, which allows the ‘weight’ of a bar to increase as you move through the range of motion,” explains Elliott Upton, NASM certified personal trainer, head of the online training at Ultimate Performance, a global group of personal training facilities. Currently the gym manager at Ultimate Performance Marbella gym, Upton is also the presenter and creator of the world-famous LiveUp Transformation Program.

As with any piece of fitness equipment, it is essential to understand how it works and, of course, how best to use them to maximize its effectiveness. “The further a band stretches, the heavier the movement gets, and when done correctly,” Upton explains that “bands provide resistance by increasing tension where the muscle is strongest, therefore accommodating the muscle’s natural curve of force production.”
Recently, resistance bands have surged in popularity and Upton credits this with their low cost combined with the convenience and portability factors. If you’re traveling, training at home, or simply don’t have access to a gym, Elliott says that a “good set of resistance bands will allow you to burn calories and get in a great workout.”
5 Resistance Band Exercises
I asked Upton to share a quick and effective band workout and here’s what he had to say:
When you are limited to a single piece of equipment, the number one rule is to use the biggest ‘bang for your buck’ exercises possible. In the instance of resistance bands, these are our major compound lifts that use the most muscle rep for rep and thus burn the most calories. I would suggest this routine as a good example and you can perform this circuit one exercise after the other, 40 seconds per exercise for as many rounds as you would like, with as little rest as possible. The band is dependent on the user’s individual level of strength, and you should select a band, that is strong enough to feel like getting through the whole set of 40 seconds is challenging. I describe this as ideally being an 8 out of 10 on a scale for difficulty. This is what we call an RPE scale, “a rate of perceived exertion.” This will be different for every person.
Once you’ve selected the appropriate band for your level and ability, let’s put those bands to work!
*Exercises are performed with a pull-up resistance style band unless otherwise indicated.
Squats:

Instagram @EverydayAthleteRD
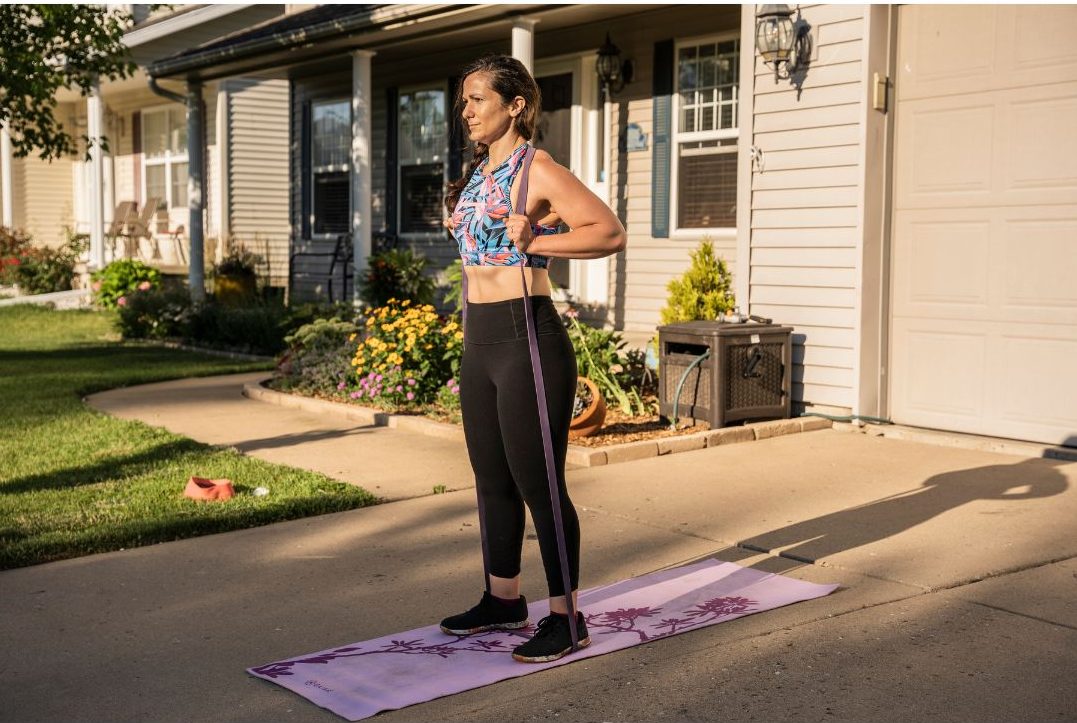
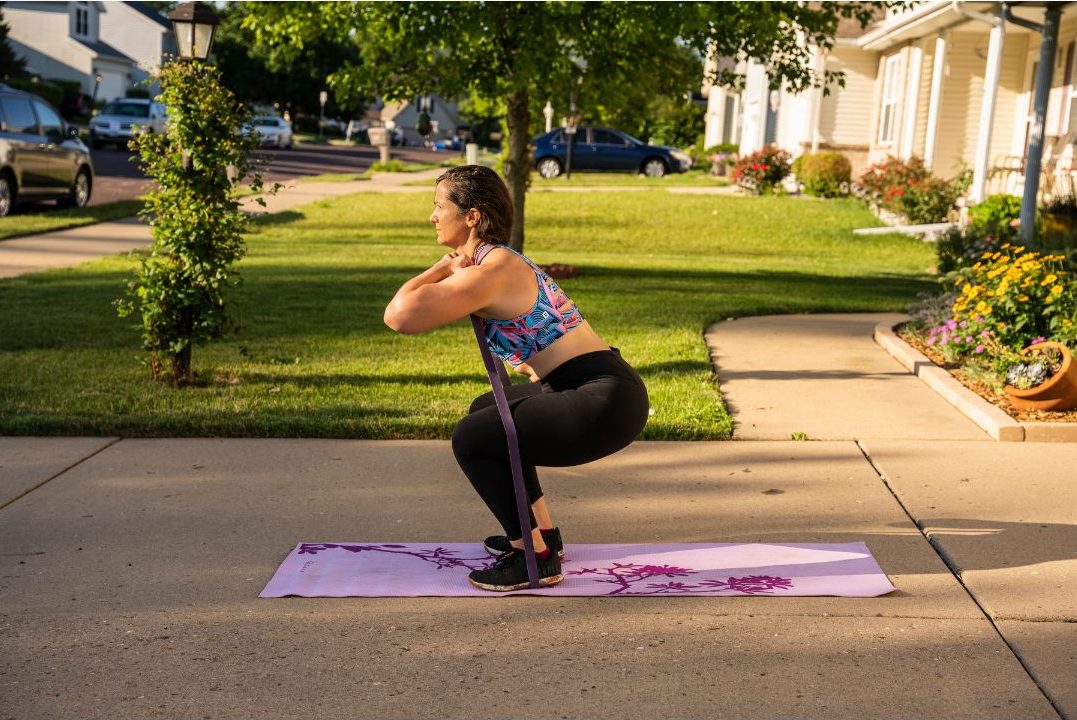
- Stand with your feet within the loop of the resistance band with the other end over your shoulders.
- The band should be tight enough to not fully lose tension as you lower into the lower end of the squat.

Instagram @EverydayAthleteRD
Single Arm Row:

Instagram @EverydayAthleteRD
- Take a stride forward and stand with one foot in the middle of the band so that both sides of the loop are beneath your foot.
- Then take a grip of the other two ends of the band in the opposite hand to that forward leg.
- Lean into the movement to get a 45-degree angle on your torso before rowing the band towards your waist. When completed, repeat on the opposite side.
Disclaimer
The Content is not intended to be a substitute for professional medical advice, diagnosis, or treatment. Always seek the advice of your physician or other qualified health provider with any questions you may have regarding a medical condition.