Uterine fibroids are the most common benign tumors in the female reproductive tract whose exact cause is unknown, but it is known that fibroids are fed by hormones and blood. They can be as small as a millet seed or large enough to fill the entire abdominal cavity. Symptoms of fibroids rarely appear before age 30 but may include painful menstruation, excessive bleeding, and abnormal mucous discharge. Tumors that press on the bladder can cause a need to urinate frequently.
Practicing yoga asanas during your menstrual period might put more blood into the uterus and accelerate fibroid growth. In any case, practicing yoga asanas during your menstrual period can cause heavier blood flow into the uterus, dilation of uterine blood vessels, and heavier bleeding.
Note: Do not practice yoga asanas during the first three days of your period or at any time in which you are experiencing a heavy blood flow.
Twists such as Bharadvajasana (Bharadvaja’s Twist) and Parivrtta Janu Sirsasana (Revolved Head-to-Knee Pose) can be beneficial, because they allow the abdominal area to be in an open position. As fibroids grow, one’s yoga practice should be changed to accommodate them. Women with large, heavy fibroids should approach yoga as if they were pregnant. For them, supported poses like Supta Virasana (Reclining Hero Pose), Supta Baddha Konasana (Reclining Bound Angle Pose), and Salamba Setu Bandha Sarvangasana (Supported Bridge Pose) can be of great benefit.
Bharadvajasana (Bharadvaja’s Twist)
- Sit in Vajrasana. Slide partly off your heels to the left so that your left buttock is on the floor and your right buttock is on your left foot. Let the top of your left foot rest on the arch of your right foot. Place your left hand on the floor to the side and a little behind your left hip. Place your right hand on the outside of your left thigh.
- Inhale and lengthen your spine upward. Exhale and twist to the left, keeping the extension of your spine. Repeat the actions with another inhalation and exhalation.
- Throughout the pose, keep your shoulders down and relaxed. Keep your eyes, jaw, throat, and neck muscles relaxed. Breathe comfortably through your nose. Repeat to the right side.
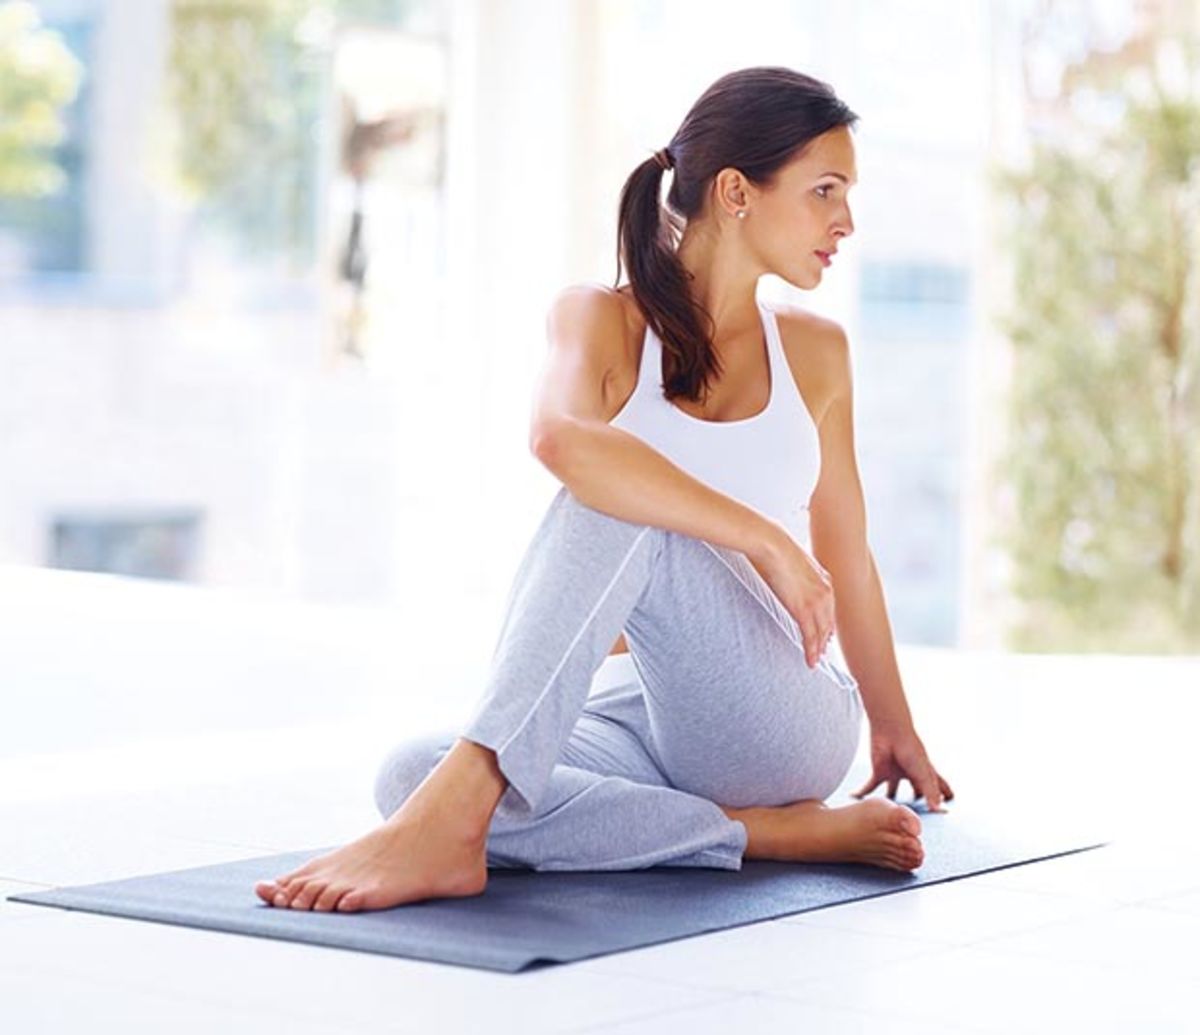
» Parivrtta Janu Sirsasana (Revolved Head-to-Knee Pose)
- From a seated position extend the right leg out 45 degrees towards the corner of the room. Bring the left foot in close to the hips.
- Extend the right arm over the right leg with the right palm facing up.
- Inhale reach the left fingers up towards the ceiling, lifting out of the hips.
- Exhale and arch over to the right, reaching the left fingers towards the right foot, bringing the left arm directly over the left ear.
- Keep the left shoulder pressing back, allowing the chest to stay open and facing forward. Keep the chin off the chest, looking forward or up at the ceiling.
- Breathe and hold for 2-6 breaths.
- To release: inhale and reach the left fingers up towards the ceiling, exhale release the arm down.
- Repeat on other side.
» Supta Virasana (Reclining Hero Pose)

- Begin in Virasana. Kneel with your knees together and near the front of the mat. The tops of the feet should be hip width apart on the mat and parallel to each other. In Virasana, you sit between your feet rather than on the feet as in the Vajrasana pose.
- To descend, press your palms into the floor as you bend the elbows and gradually extend back toward your prop or the floor. The knees extend in one direction away from the pelvis and down towards the floor as you also extend the upper torso in the opposite direction away from the pelvis and lower the shoulders to or towards the floor.
- To protect your lower back in this pose, it is important to avoid over-arching it during the descent. This is done by tilting your pelvis so that your coccyx moves upwards between your legs towards your pubic bone as you also move the ribcage up from the hips towards your head. This creates space between the vertebrae in your lower back. Keep performing this protective maneuver as you also maintain the descent of the buttocks towards the earth beneath you. Keep your knees together and firmly on the floor.
about:blank - Remember to focus on lowering your shoulders rather than arching the neck and lowering your head. Your chest is expanded by lifting your sternum upward and away from your pubic bone. The lengthening of the torso that happens when you lift the sternum creates deep space to facilitate breath. Extend the neck with a relaxed throat. The neck should be in a neutral position, not overly arched. Relax the thighs and abdomen. The thighs have a tendency to fall inward. Revolve the thighs outward so that they face the ceiling.
- Stay in the pose for a minute, and in the future you can practice so that you can stay in the pose for 5-10 minutes.
- To come out of the pose, push yourself up with your hands and return to kneeling in Virasana. Come up to your knees, crossing your legs behind coming into Sukhasana (seated cross-legged pose). Now extend your legs in front of you to stretch them out.
» Salamba Setu Bandha Sarvangasana (Supported Bridge Pose)
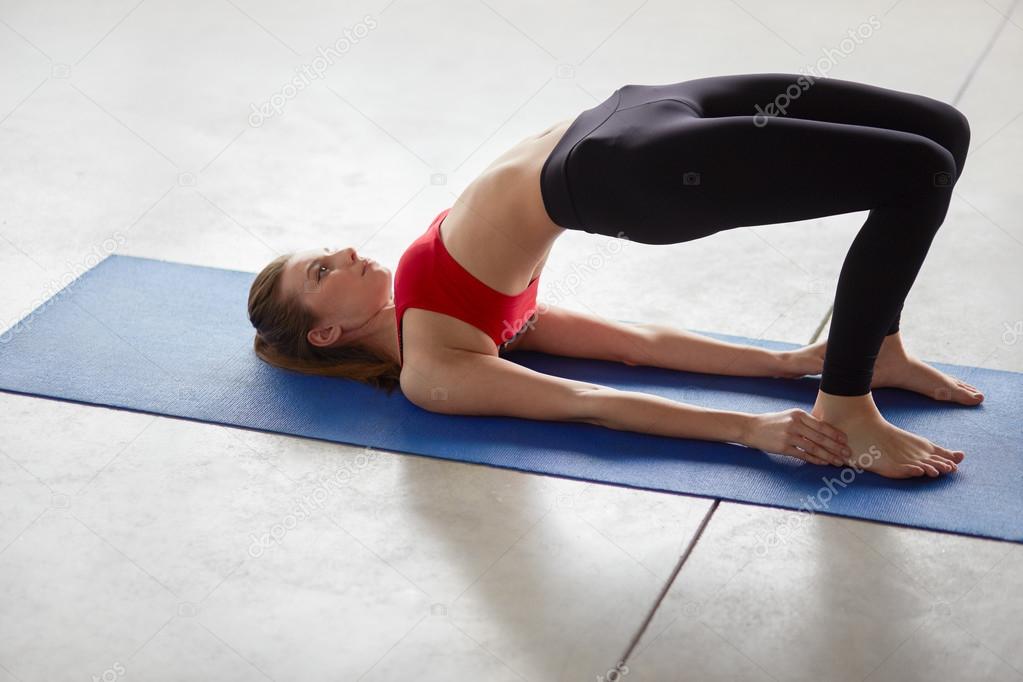
- Come to lie on your back with the knees bent and the soles of your feet flat on the floor. Have a yoga block handy.
- You should be able to barely touch the backs of your heels with your fingertips when the arms are lying on the floor.
- The feet should be parallel and stay that way through the duration of the pose.
- Press down into the soles of the feet as you lift the hips off the floor.
about:blank - Slide your yoga block under your back directly under the sacrum. Let your sacrum rest on the block. Let the arms rest alongside the body.
This should be a comfortable resting position. You may wish to stay here several minutes. - To come out, press down into your feet and lift the hips again. Remove the block and gently lower your back to the floor.
Beginners:
It is a good idea to start with the block on the lowest level . If this feels comfortable, you can try turning it to a higher level. Since this is a restorative pose, choose the level that gives you the most ease. If you feel any pain, come out.
Advanced:
Try lifting one leg at at time off the floor, keeping the block in place. You may also lift both legs at the same time in a supported version of Shoulderstand.
Reducing stress and exercising can help relieve the symptoms of fibroids. A low-fat, high fiber, is recommended.
about:blank
Some foods to eliminate from the diet are dairy products, which increase estrogen; animal proteins, which are high in saturated fats; and alcohol, caffeine, sugar and salt, which deplete minerals and B-complex vitamins that are needed to regulate muscle tension.
Disclaimer
The Content is not intended to be a substitute for professional medical advice, diagnosis, or treatment. Always seek the advice of your physician or other qualified health provider with any questions you may have regarding a medical condition.