Hip, knee and ankle serve as fulcrums to different activities in our daily life. But fundamentally the ideal motion is about stability just as much as it is about mobility. This is precisely why hip stability is an issue that deserves a greater focus.

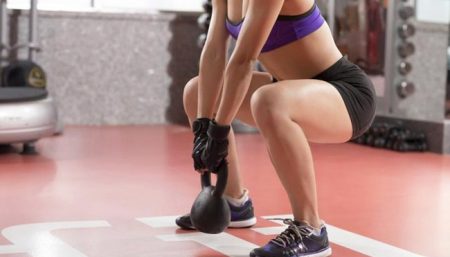
The hips contain several muscles known as the abductors. These include the tensor fascia lata, gluteus medius, illiacus and psoas major. A loaded weak hip would be either excessive internal rotation of the hip and/or relative hip adduction. Lateral pelvic shift toward the weak hip (actual hip adduction), elevation of the pelvis on the weak side, and lateral torso flexion towards the contra lateral side are all deviations that usually accompany a weak hip. Think of life as one big glute workout and you’ll see amazing results. Every time you walk, move and bend, fire (squeeze) those glutes.
Every joint in our bodies that allows for mobility is equally equipped with stabilizers that allow for controlled motion, the ability to shift our center of gravity, and the handling of various loads. Most people get into trouble squatting by using their quadriceps rather than the muscles of the hips to initiate movement. As a result, the knees slide forward, the glutes don’t get involved and there is undue pressure on the knees and back. Our goal is to become more glute-dominant. |
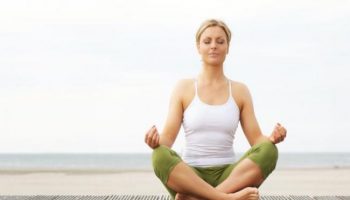
The question arises, how to maintain hip stability? Get familiar with these hip stabilizing yoga asanas
- Trikonasana: Stand with your feet three to 3 – 3.5′ apart. Turn your left foot in 30 degrees and your right foot out 90 degrees. Be sure that your right heel is in line with the arch of your left foot. Bring your hands into a T position and take a deep inhalation. Exhale and move your pelvis toward the left as you extend your torso to the side and over your right leg. Place your right hand down on your shin and stretch your left arm vertically overhead, palm forward. Turn your head to gaze softly at your left thumb. Hold for three breaths. Release by coming back to standing and practice on the opposite side.
- Supta Padangusthasana (Reclining Hand-to-Big-Toe Pose): pose for lower-back pain. Its actions help create traction in the lower back, which can relieve compression and tension. While laying on your back, straighten your right leg up toward the ceiling. Place a yoga strap on the ball of the right foot and extend the right leg out toward the right while holding on to the strap. Hold the pose for 30 seconds and repeat on the other side.
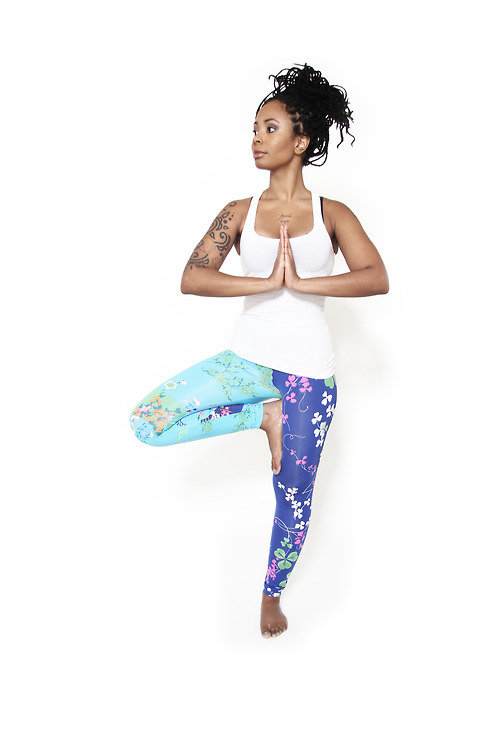
- Vrikshasana (Tree Pose): Stand on your left leg and bend your right knee, turning it out to the side. Rest your right heel against your left leg with your right toes on the floor. You can either place the foot of the right leg on the left ankle with the toes on the ground, or move it higher up above the knee, the classical version of this pose. However, you should never place your foot on your opposite knee. Once you’ve found a comfortable position for your foot, bring your hands together at your heart center. Optional: Lift the arms and the gaze overhead. Your abdomen should be relaxed and your standing leg should remain straight.
Find a steady point for your gaze and breathe deeply. Stay for a comfortable length of time then gently release and then move into tree on the other side.
- Prasarita Padottanasana (Standing Straddle Forward Bend): Step the feet apart into a wide straddle. The feet should be slightly pigeon-toed so that the outside edges of the feet stay parallel. Deepen the hip creases as you come into a forward bend. Bring the hands directly underneath your shoulders. Then begin to walk the hands back, bringing your wrists in line with your ankles, if possible. Bend the elbows as if in Chaturanga. Try bringing your body weight forward into the balls of your feet to keep the hips in the same plane as the ankles. Engage the quadriceps and draw them upwards. Stay here for 5 to 10 breaths, lengthening the spine on the inhales and deepening the forward bend on the exhales. To come out, bring your hands onto your hips and keep your back flat as you come up to stand.
Beginners: Take blocks under your hands if they don’t reach the floor.
- Utthita Parsvakonasana: From Downward Facing Dog, bring the right foot forward next to the right hand. Drop the left heel down to the floor. Bend the right knee so the calf and thigh are at a right angle with the thigh parallel to the floor. Bring the right hand inside or outside the right foot and the left arm up toward the ceiling, opening the chest and stacking the left shoulder on top of the right. Bring the gaze up to the right hand. To keep the body in balance, repeat on the left side.
Beginners: If the right hand does not comfortably reach the floor, take a block under the hand so that you can still open the chest. - Balasana (Child’s Pose): From Downward Facing Dog, drop the knees to the floor. Spread the knees as wide as the mat, keeping the big toes touching. Bring the belly to rest between the thighs and the forehead to the floor. There are two possible arm variations: Either stretch the arms in front of you with the palms toward the floor or bring the arms back alongside the thighs with the palms facing upwards. Do whichever feel more comfortable to you.
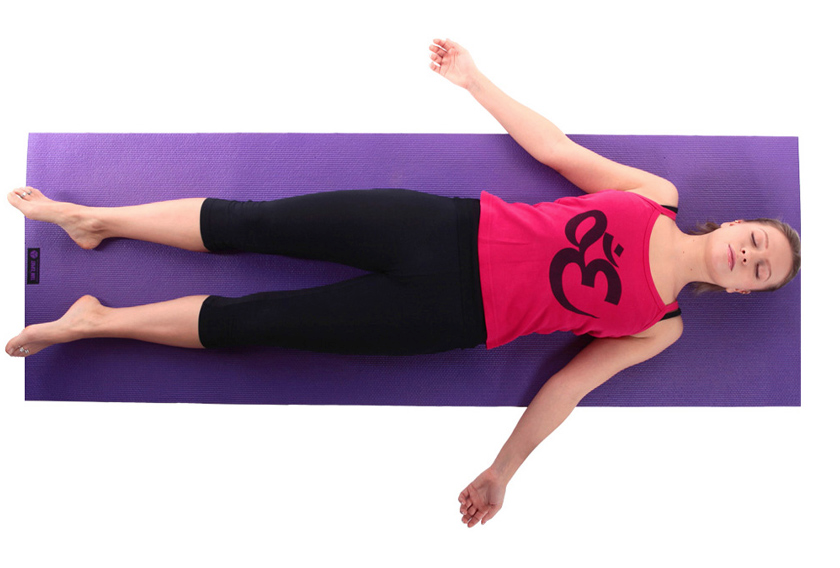
Beginners: Rest in Child’s Pose at any time if you get tired or out of breath. Rejoin the class when you are ready. - Savasana (Corpse Pose): The Corpse Pose or Savasana may look like a simple relaxing pose that is done in between or after an Asana, but this exercise requires a lot of concentration and will develop through continued practice. Rotate your legs in and out, and then let them fall gently out to the sides. Let your arms fall alongside your body, slightly separated from the body, palms facing upwards. Rotate the spine by turning your head from side to side to center it. Then start stretching yourself out, as though someone is pulling your head away from your feet, your shoulders down and away from your neck, your legs down and away from your pelvis. Breathe deeply and slowly from your abdomen. Hold the pose for several minutes. Make your mind still and concentrate on your breath or the body. After doing the pose, bend your knees. Using your legs, push yourself onto one side. Push yourself in a sitting position.
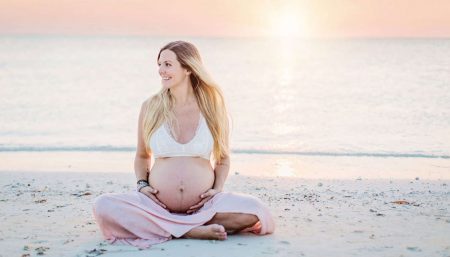
Consult with your doctor before practicing yoga for your hips.
Disclaimer
The Content is not intended to be a substitute for professional medical advice, diagnosis, or treatment. Always seek the advice of your physician or other qualified health provider with any questions you may have regarding a medical condition.