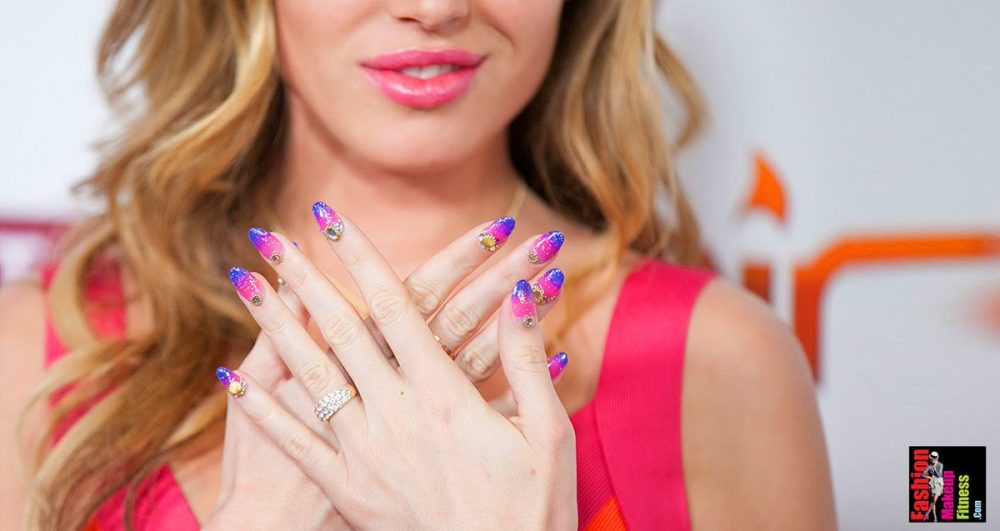
Good looking nails are an essential part of your dressing up. With the advent of nail art, women- especially teenagers have finally found a way to use their imaginative skills and show up their talent. Many have begun starting taking this as a career opportunity because it seems a profitable business to them.
What You Need:
- Acetone
- A fine paintbrush
- A set of acrylic paints
- Nail Varnish in different colours
- Nail art accessories: color gel, powder glitter, rhinestones, nail art sticker, shell splinters, nail tattoos, etc. Rhinestones and glitters are favourites, and are easy to get hold of.
- Cotton bud
- Nail gel
- Toothpick
- A clear topcoat
How to go about doing Nail art:
- First of all using Nail Polish remover, remove old nail polish and make sure that the nails are properly cleaned.
- Start with, using a good quality pale basecoat as this would ensure a better look of your nails and prevent staining. Leave it to dry. If you think that the base is not strong, then better add one more thin layer over it. But avoid thick layers as it takes a lot of time to dry properly.
- Depending on the design, if you are a beginner, try notching your creative side up. Flowers, hearts etc are easy to do, and look eye-catching and pretty too!
To do flowers
- Paint on a base coat colour. Any colour you wish!
- Carefully dip your brush into acrylic paint, any colour, but if your base colour is light, try a dark colour, i.e. purple, and if its dark, try a light paint colour, i.e. white! Take your brush and gently paint a little line, imitating a petal. If you want it to be easier, load your brush a little heavy, then place your tip down, flat on the nail, so the imprint of the brush shape is left. Do this 5 times, for 5 petals.
- Paint a dot in the centre on the petals, acting as the middle of the flower.
- Paint more over the nails in the same fashion, or just leave it as one. Remember to seal with topcoat!!Instead of placing a dot in the middle, try using a rhinestone! Sparkling and pretty! Just dab some topcoat or just clear varnish over the flower, wet the end of a cocktail/orange stick. Place the tip of the stick onto a rhinestone so that it is picked up. Carry it over to the flower and place it in the centre. You may want to push it down with the end of the stick, so it sticks into place better! Do Not Forget to Seal it!!
To do a heart
- Apply a base colour.
- Paint on 2 quite large dots, next to each other.
- From the outside of each dot, draw a diagonal line, forming a V shape, with the 2 dots at the top.
- Fill in the space inside the V. Then, with a light amount of paint on your brush, fill in the outsides, forming a more curved and fuller heart shape. Then add topcoat.Having hearts and flowers in one design. Experiment with different colours too. Add rhinestones and glitter And most of all, have fun with nails.
Things to Remember:
- Make sure your nails are in good shape
- Choose the right products for good results.
- Create your nail art on top of the base coat
- Apply a top coat.
- Practice it on a piece of paper, to get desired result.
- Use tweezers or a special applicator to dip small jewel or sticker into a drop of nail gel or nail glue. You can buy specially made jewels and stickers from nail art supply stores, or you can use your own — just make sure they are small and have flat bottoms.
-
Make sure each color of nail art is completely dry before starting another color (unless you’re trying to blend them); if the first color is still wet it will smudge and ruin your art.
If you avoid the allergens and irritants, treat your nails well, and let them rest from time to time, there’s nothing wrong with nail art.
More ideas:
- Newspaper print
- Leopard print
- Butterfly
- Bunny rabbit
- Food Nail art
Additional Links:
