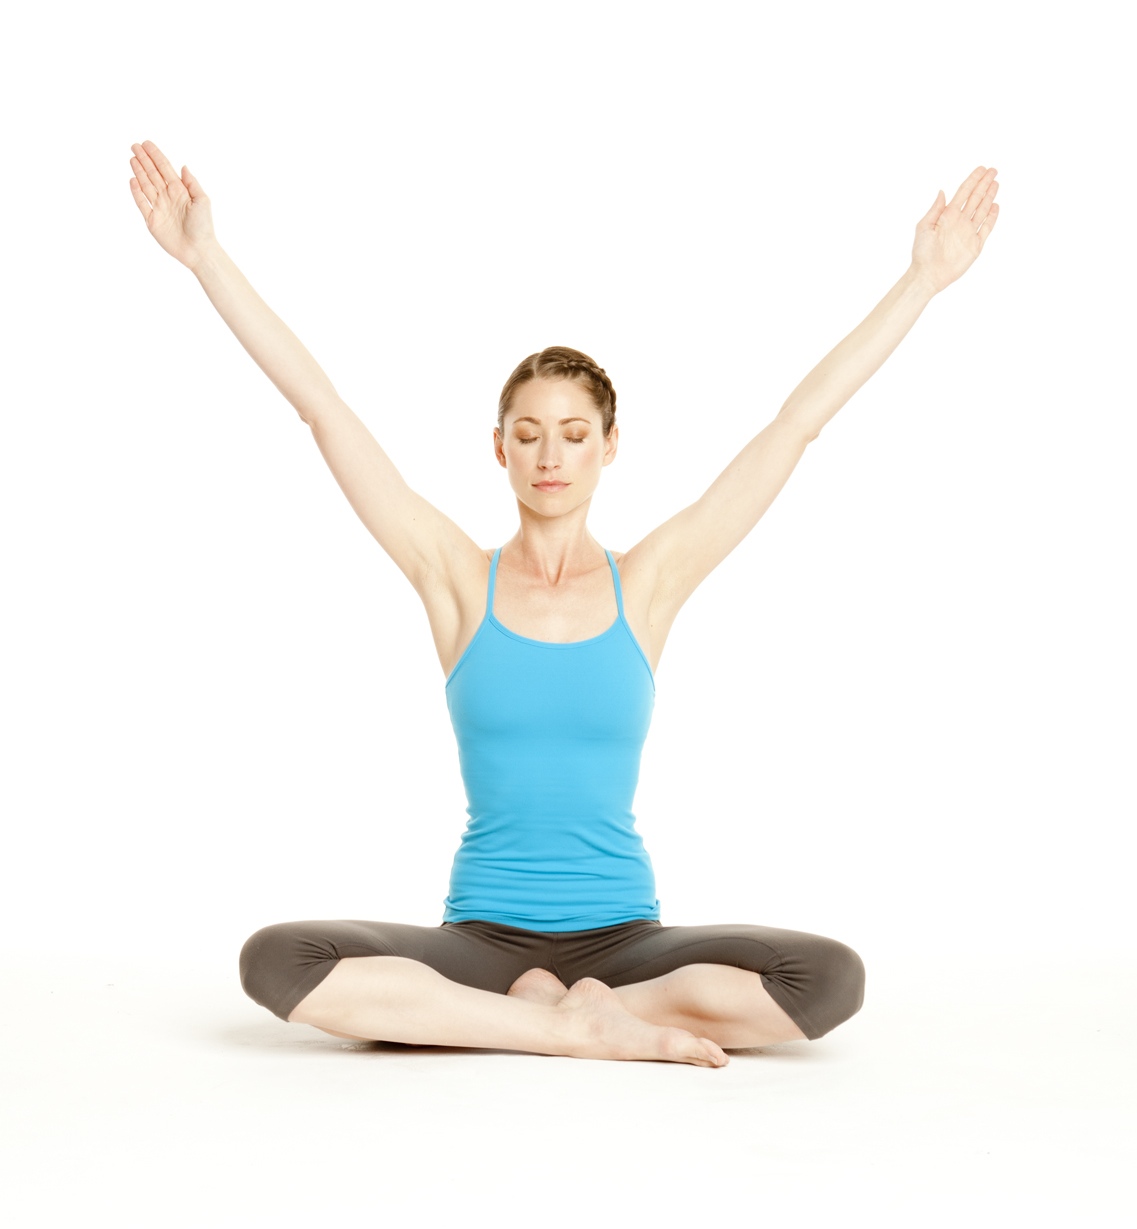
The triceps, biceps and deltoids are the most visual muscles in the arms. Biceps run along the front of the upper arms and help you bend your elbow; triceps run along the back of the upper arms and help extend the elbow; and deltoids, the outer layer of the upper arms, allow you to lift your arms to the side, front and back, as well as rotate them inward and outward. Focusing on poses that engage these “defining” muscles will help create a more chiseled, beach-ready look.

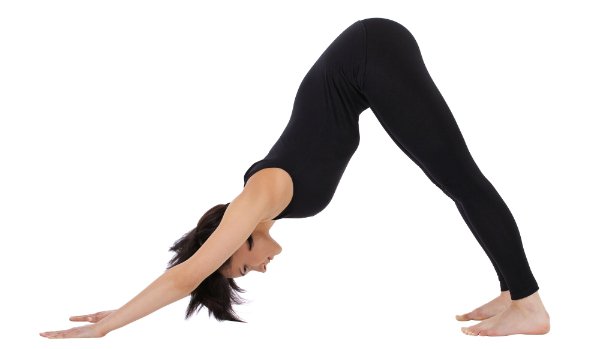
Adho Mukha Svanasana (Downward Facing Dog)
- Begin on your hands and knees. Your wrists should be underneath your shoulders, and your knees underneath your hips.
- Inhale as you tuck your toes under your heels. Then exhale to lift your hips, coming into an upside down “V” shape called Downward Facing Dog.
- Spread your fingers wide and create a straight line between your middle fingers and elbows. Work on straightening your legs and lowering your heels toward the ground. Your heels should be slightly wider than your toes, so the outside edges of your feet are parallel with the outside edges of your mat. Relax your head between your arms, and direct your gaze through your legs or up toward your belly button. Work on holding for five breaths.
Chaturanga Dandasana (Four-Limbed Staff Pose)
Chaturanga is like a push-up, and as such is a great arm strengthener. It is part of the Sun Salutation vinyasa sequence of poses.
- From Plank position, bend the arms straight back, keeping the upper arms hugging into your sides.
- Lower down toward the floor, stopping when your forearms and upper arms are at a right angle.
- Keep the whole body very level.
- Push back into the heels.
- Roll over the toes coming into Upward Facing Dog.

Marichyasana (Sage Twist)
- Sit on the floor with both legs straight in front of you.
- Bend your left leg towards your chest.
- Rotate your torso toward your left knee. Wrap your right arm around the left knee, positioning the knee in the crook of the right elbow.
- Clasp your hands. Keep your back straight all throughout the pose.
- Make sure not to twist your back too far or you may worsen any back pain you currently feel.
Bakasana (Crow Pose)
- Bending the knees slightly, bring your palms flat on the floor about shoulder distance apart.
- Place the knees on the back of the upper arms.
- Start to come forward, lifting the head as you go.
- Take feet off the floor, one at a time, so you come to balance with both feet up.
Beginners: Try lifting one foot up at a time to get a feel for how far forward you need to bring yourself. Do not let your head drop. This will cause you to tip forward and lose balance.
Chakrasana (the Wheel)
- The Wheel may look difficult, but it is worth working at slowly and systematically, as it can bring great strength and flexibility to the spine and back muscles.
- Lies on your back, bend your knees, and put your feet flat on the floor, near your buttocks, hold your ankles.
- Put your hands flat on the floor behind your shoulders with the fingers pointing towards your shoulder blades.
- Lift your hips, arching your entire spine and dropping your head back. Only your hands and feet remain planted on the floor. Aim to hold this posture for 30 seconds.
Sirsasana (Headstand)
- Interlace fingers to form a cup with palms. Place forearms and wrists on a folded blanket.
- Place crown of head on floor with slight emphasis of weight towards forehead.
- Walk feet towards head and lift knees gently upward.
- Straight legs extended.
- Lengthen both sides of ribcage.
- Navel-point in.
- Tailbone extends towards heels.
- Shoulder blades wide and floating towards kidneys to decompress neck.
- Follow with Shoulder-stand or Child’s pose.
- Always maintain a calm and even breath.
Even standing poses, such as Warrior II, where you are resisting the pull of gravity and reaching the arms outward, firm and straight, will help with sculpting. Hold each pose for 5 breaths.