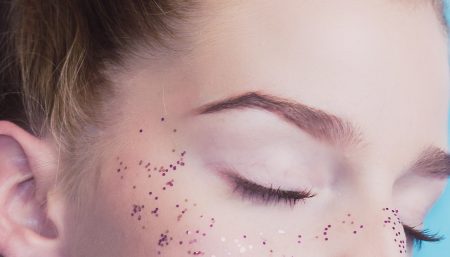
Your eyes are the most exciting and expressive feature you have, so emphasizing them with make-up is extremely important.
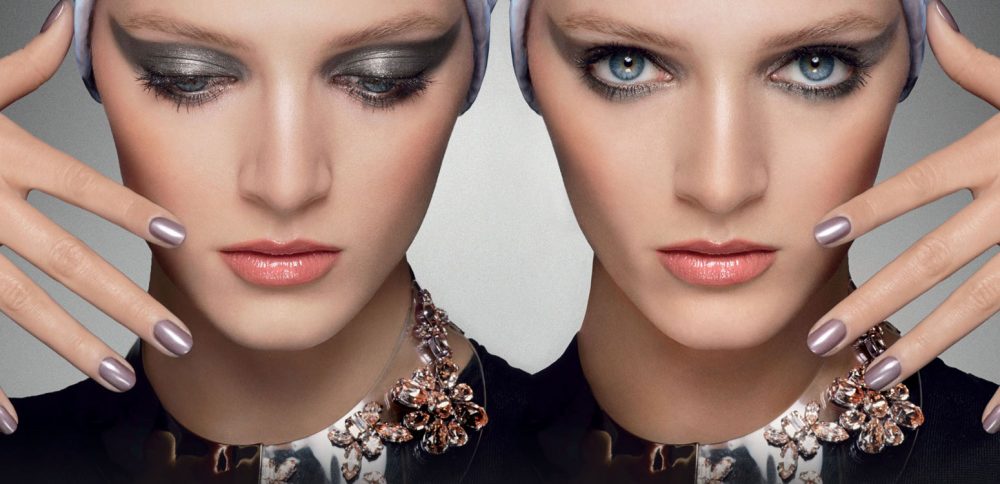
Your eye can be divided into three parts, when it comes to makeup:
- The eyelid
- The center, or depth area
- The brow bone
One-third from the base of the lashes to the crease line, and two-thirds from the crease line to the eyebrow. You can achieve this proportion with well judged make-up.
![]() Choosing the right colours for your eyes is extremely important for outstanding effect. Professional make up artists follow these basic rules:
Choosing the right colours for your eyes is extremely important for outstanding effect. Professional make up artists follow these basic rules:
- BLUE EYES – all the metallic(s)- gold, bronze, silver and silver greys, mauve, brown pink and fleshly tones.
- BROWN EYES –gold, bronze, khaki pewter ,navy blue, mauve pink and fleshy tones.
- GREEN EYES -gold, bronze ,grey, earthy tones, fleshy tones.
Keep the basic principles of light and dark in mind while applying color. Dark color recedes areas, light bring areas forward. |
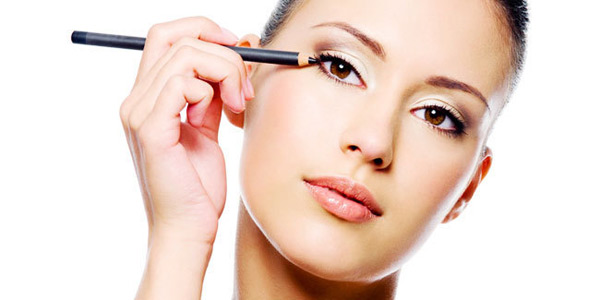
 Tips for pretty eyes
Eye makeup application asks for, practice and patience. Once you have mastered the art, eye makeup will become a matter of minutes and seconds. Eye makeup involves three steps of applying,
- Mascara
- Eyeliner/ eye pencil
- Eye shadow
 Applying the mascara
- Before applying mascara, consider curling your lashes with a lash curler to open up your eyes. This is helpful to frame the eyes, especially if your lashes are short.
- To curl eyelashes with a lash curler your should start by squeezing in “steps” from the lashline to about 3/4 of the way toward tips.
- To apply mascara, place your finger about mid-lid or on your eyebrow and pull up in order to hold your lid taut.
- Holding the wand horizontally, sweep on mascara from roots to ends. Apply only to lash tips at first. Roll the wand slightly as you move, wiggle the wand slightly from side to side, along the lashes to distribute mascara evenly.
- Allowing lashes to dry between coats thickens the lash while avoiding clumps. Let the mascara dry for a 4-5 minutes. Don’t hurry, relax and wait. This point is where the wet mascara can smudge easily and leave messy marks where you don’t want them. Check your work before you begin the second coat, blinking can cause the wet lash ends to leave tiny mascara marks on your lids. Clean with a Q-tip or disposable applicator as you go, as needed.
- Once the first application has dried, apply a second. For thicker lashes, carefully apply mascara to the upper side of the lashes as well. Wait and let it dry before you continue.
Don’t:
- Do not overload your eyes
with mascara in hopes of creating lusciously thick lashes. Result, a look that is thick, smudgy, and unattractive. - Don’t apply a second coat until the first one has fully dried.
- Don’t apply a mascara that’s too dark. If you’ve got blonde, red, or brown hair, stick with a brown or darker brown shade. Using a dark black color will create a look that is way too dramatic.
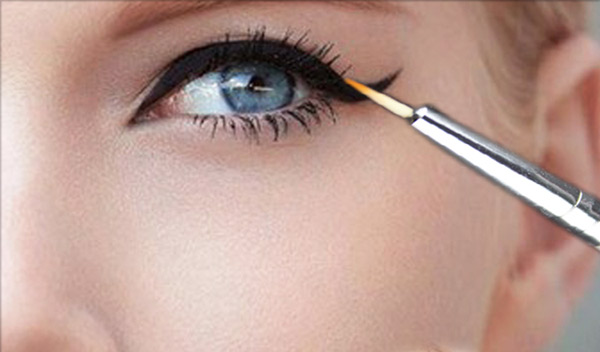
 Applying the eye-liner
- Lining the lashes is a great way to add extra flair to your eyes. It’s simple to apply and can be done in mere seconds.
- Determining the right color to use is a cinch. If you’ve got blonde, red, or light brown hair, go with a brown shade. If you’ve got dark brown or black hair, use a black eyeliner.
- Unload some of the liner (if using liquid liner) After removing the brush from the tube, stroke it over the opening several times to minimize the amount of liquid on the tip.
Get real close to the mirror. Tilt your head back till you’ve got a good visual of your lash line. While holding the brush between your index and thumb, prop your pinkie on your cheek for stability. Keep your mouth slightly open to relax the facial muscles…this will make you less likely to blink. - If you choose to use a pencil eyeliner, Extend a very thin pencil line as close to the lashline as possible, along the most inner part of the upper lid near the nose. This is a place often forgotten but add an attractive natural definition to the eye.
- Apply a thin stroke from the inner corner of your eye’s upper lash line all the way out to the outer corner. If you want to line the lower lashes go light as a line too heavy on the lower lashes can give an un-natural, owl-like effect on the eyes.
- Line the lower lash line with a pencil. Take an eyeliner pencil, and using the same body positioning, put the pencil at the mid point of your lower (outer) lash line and take the line to the outer corner.
Note: Eyeliners can be worn with or without eye shadow. But… if you’re wearing eyeshadow, you must apply eyeliner. Also, don’t want to line the entire lower lash line, unless you have big eyes.
 Applying eye shadow
You can own as many as you like, but no one needs to wear three eye shadows at the same time, two shades- a base and a defining tone are enough.
- Always keep your eyes moisturized. Wrinkles causes make-up to “cake-up” in your wrinkles so please don’t let your precious eyelids and upper eyes dry out.
- Follow it up by applying a light yet normal layer of foundation on eyelids and upper eye area.
- For the base, choose a darker color and apply it to the inner third of the eyelid and “run” it to about half way to the corner of the outer eye.
When applying eye shadow to the crease of the eye, keep your eyes open and slightly tilt your head backward. This will enable you to better see the shape you are creating and allowing the shadow to go into the crease.
- The contour will be a lighter shade of whatever base you chose and will begin at the remaining two thirds of the area shown and should “run” out to the end of your eyelid but should subtly blend in with your base at the inner one third. (The colors you choose will be those that match your “wardrobe” of the evening of course).
- The accent gets applied to the lower “fold” of the eyelid as you “stretch” your eyelid by closing your eye and raising your eyebrow at the same time. Apply a fine line of the lightest shade of eye color that matches your “palette” to this area.
- The highlight is what makes your brow appear to be “higher”. It is usually a white or the lightest color. Once you have “painted” all the minute areas of your eyes.
- Blend them with a big, soft, blending brush. Sweep the brush up and away from your eyes toward your temple. Sweep in the direction of your lashes.
- Use the spiral brush or lash comb to give lashes a final brush-through, after they’ve dried to remove any clumps and give lashes a more natural look.
- If you apply mascara to lower lashes, go light. Apply by brushing the lashes with the wand in a vertical position to sweep across lashes or apply gently lash by lash. Adding too much mascara on the lower lashes can be aging to more mature eyes.
 EYES SHAPE SECRETS
- If you have small eyes never apply liner to the inner rims; put it above or below the lash line.
- Flesh coloured eyes shadows, brushed on to your brown bone will open your eyes. When using colors stick to sweeping one shade over the eye rather than several.
- If you eyes are very round, apply a natural (not black) kohl pencil around the whole eye; if they are very narrow or almond-shaped, open with the brown shaped trick and/ or pencil the outer corner.
- Plucking your eyes brows will make the whole eyes area seem larger. Do not go mad as thin eyes brows look awful, but just clean up the area beneath the arch by plucking out hairs that are not part of the main brow the difference will be startling.
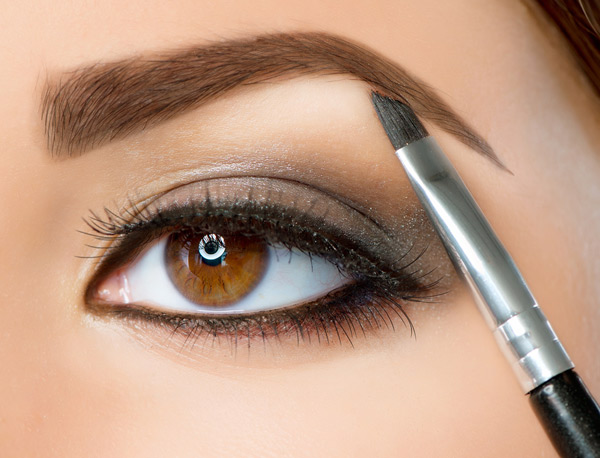
 Eyebrows tips
The following tips will help you care for and maintain those well-groomed eyebrows:
- Don’t over-tweeze. Always follow the “less is better” approach.
- Follow the natural shape of the brow.
- Never apply colour in heavy, solid lines. Rather, use light, fine, feathery strokes to simulate the natural eyebrow hairs.
- Eyebrows should always be a few shades lighter than your hair colour – never darker! When they are darker they look artificial and have a tendency to distract attention from the beauty of your eyes.
- Never shave your eyebrows – they will only grow back stronger and more coarse.
- If your brows are a bit flaky or scaly, lubricate them at night with a little Vaseline or castor oil.
Disclaimer
The Content is not intended to be a substitute for professional medical advice, diagnosis, or treatment. Always seek the advice of your physician or other qualified health provider with any questions you may have regarding a medical condition.

